
After:

Before:

I've had this little end table for years. I had found the vintage gym basket "drawers" for it, long before they were collectible and expensive, and so it has faithfully served in various places around our home for almost ten years. Most recently it was a nightstand in my 13 year old sons' room...and its shabby look got...well...shabbier. A decade of use had left its marks!

Boys and destruction...you can't have one without the other, folks!
I wanted to bring this back into our living room but it was too beat up...I wanted to add some deep turquoise, almost peacock teal color to the room...and I wanted to experiment with DIY chalk paint. Plus, I had a 2 liter of cold Diet Pepsi in the fridge.
It was a perfect storm...

www.inmyownstyle.com/2013/02/diy-chalk-paint-review-update.html
and because of my mosaic hobby, I happened to have unsanded grout, so that's what I used, but you can also use plaster of Paris.
What are the benefits of chalk paint vs. spray or latex, you ask?
1. It goes on with NO primer or sanding. (this is Numero Uno, for me!)
2. Deep, lustrous finish (far nicer than spray paint and less limited in color selection)
3. The chalk makes it self-leveling so there are little to no brushmarks. You can slap-dash this stuff on while sipping soda and singing to Aretha Franklin, no stress about streaks.
Well, sign me up for less stress, right?!
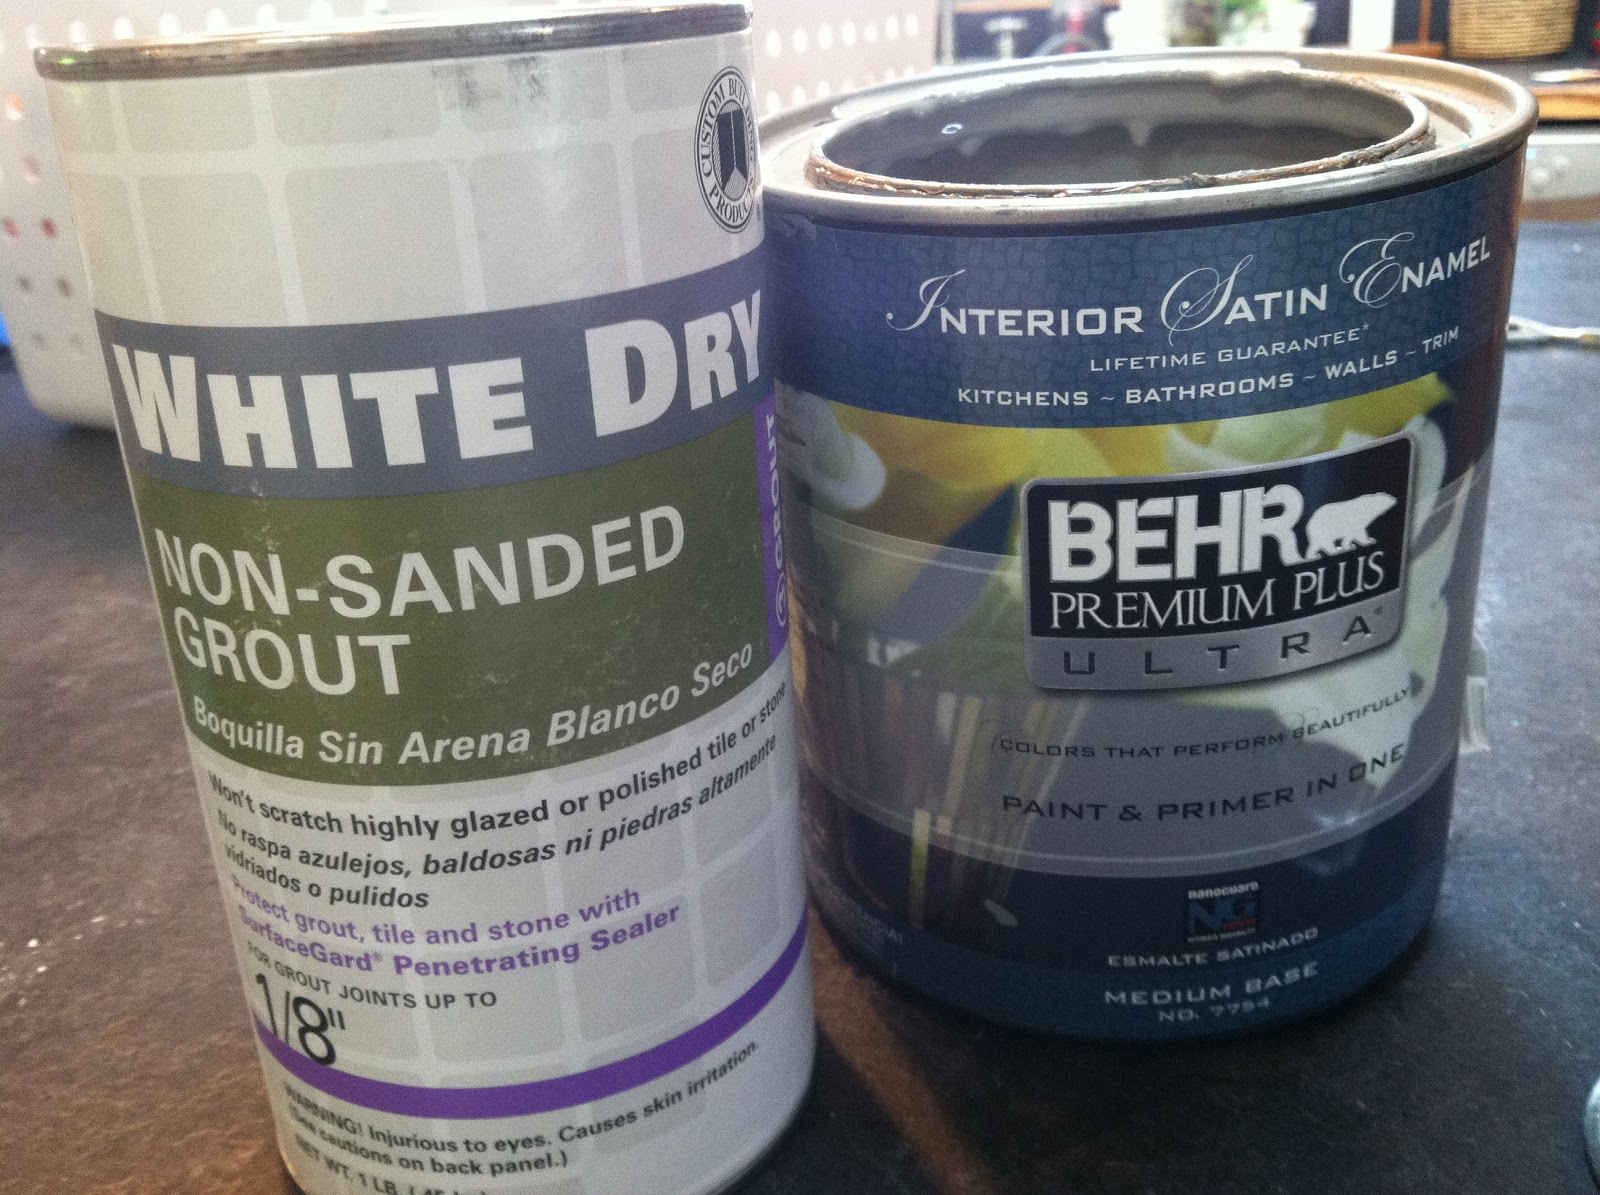
Annie Sloan chalk paint is $35 per QUART. Ouch. That's stressful. I do look forward to buying it, event (the red looks amazing!) but until then, this is a great substitute. My picture shows a Behr "oops" paint I had in gray...for $2, using an oops paint is an inexpensive way to make sure you like this type of paint.
Like I do with all recipes, I got the basic instructions, then improvised. Basically you want about 2 Tablespoons of grout to 1 cup of paint, then add enough water to mix easily. If you mix the grout and water FIRST, then add to the paint, its not as clumpy.
and here's a tip:
If you don't want to get out the dropcloth for a small project like this, cut down one side of a garbage bag for a disposable "mini-tarp" to paint on.

For this table I used a sample pot of my very favorite Benjamin Moore (under $4 at Tommy's Paint Pot, if you are local...great service!) Also, the BM paint made a much smoother chalk paint then the Behr did.
Because you add grout and water, and because the coverage is so good, it goes really far. That little sample pot was enough to do two coats on this table, plus a small mirror.

I chose this color based on a lovely dresser I saw on one of my favorite decorating blogs, Milk and Honey Home:

It makes me happy-happy-happy, this color! Benjamin Moore deep sea Green #735.
It is far more aqua than green, a lovely deep turquoise and similar to Annie Sloan's Provence (though this one is a bit darker) according to a friend who has used the original.
I hope you try it, and let me know how it works for you. I'm experimenting with various colors and finishes and will post results on the blog, too!

love it sweetie. fun looking around...
ReplyDelete(I just don't leave comments on posts too much. Saves time).
blessings and hugs
barb